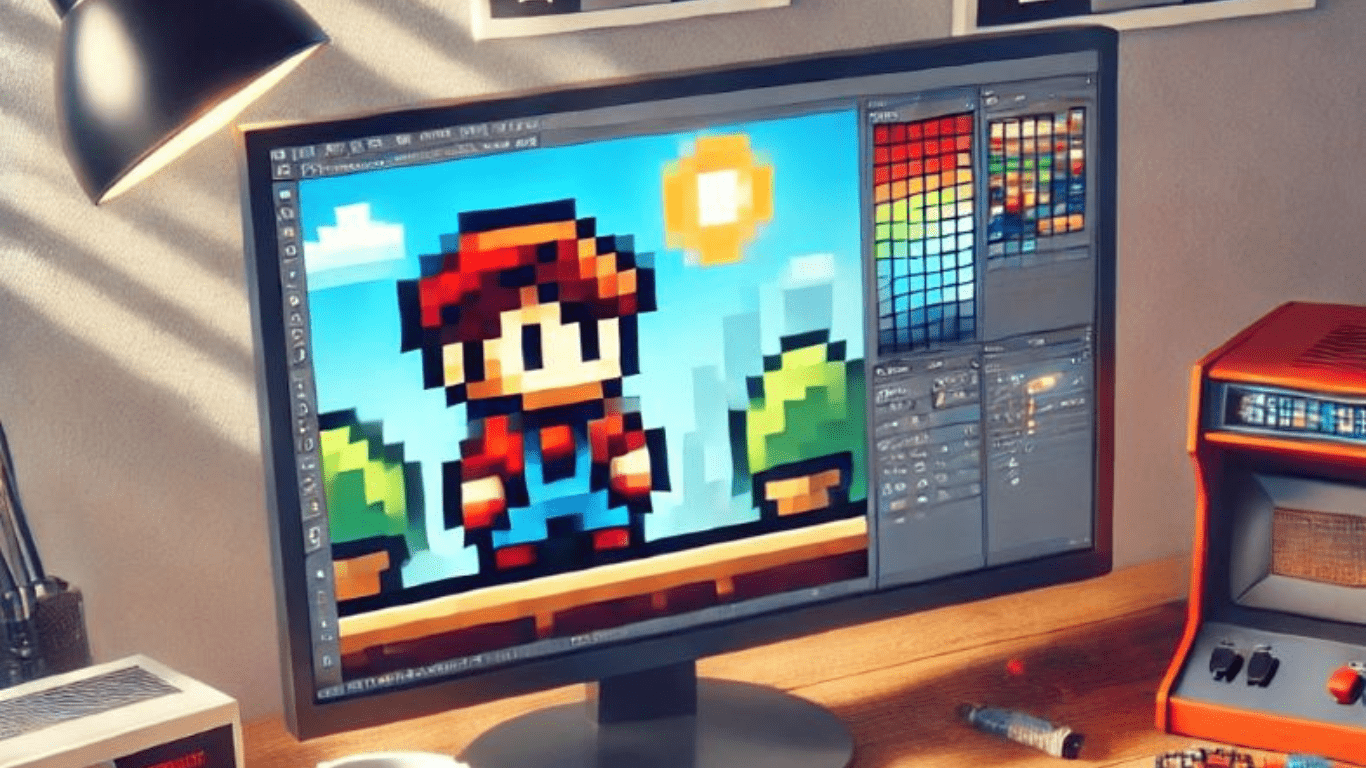
If you’ve ever wondered how to make pixel art for beginners step by step, you’re in the right place. This guide will help you get started from scratch—even if you’ve never drawn anything before!
If you think pixel art is just outdated graphics from old-school video games, think again! Pixel art is an intentional and artistic choice, loved by indie game developers, digital artists, and retro enthusiasts worldwide. It’s not just about creating blocky images—it’s about mastering simplicity, colors, and shading to make stunning artwork.

1. What is Pixel Art & Why It’s Awesome?
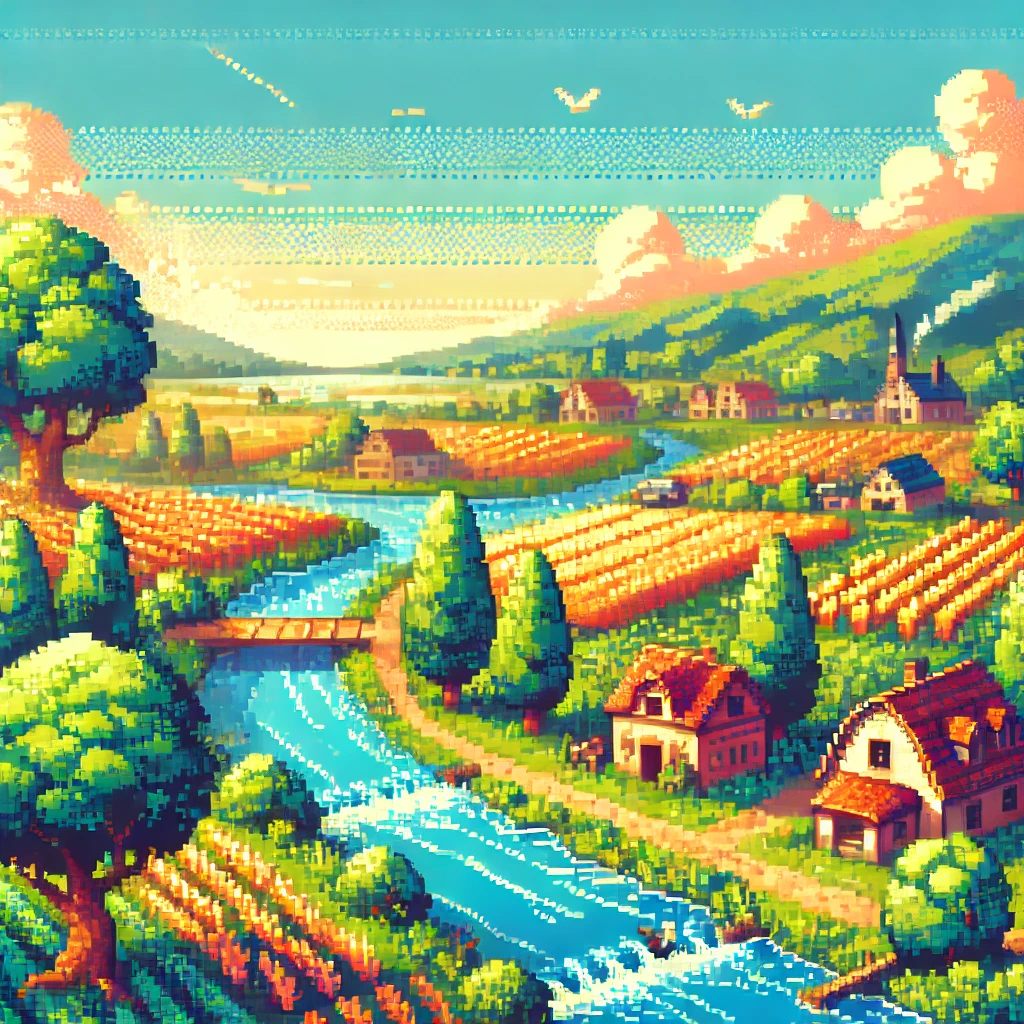
Pixel art is a digital art form where images are created pixel by pixel. Think of it like a digital mosaic, where every little square (or pixel) plays a role in forming the bigger picture.
Why is Pixel Art Still Popular?
Even with high-definition 3D graphics, pixel art is still a favorite for many artists and game developers. Here’s why:
✅ Nostalgic Appeal – It brings back the charm of classic 8-bit and 16-bit games.
✅ Easy to Learn, Hard to Master – Anyone can start, but it takes skill to perfect.
✅ Perfect for Indie Games – Pixel art is widely used in indie game development because it’s stylish and lightweight.
✅ Timeless Style – Unlike ultra-realistic graphics that age quickly, pixel art always looks cool!
Who Uses Pixel Art?
- Game Developers – Many indie games like Celeste and Stardew Valley use pixel art.
- Digital Artists – Artists create pixel art animations, portraits, and landscapes.
- Content Creators – Streamers and YouTubers use pixel art for avatars, overlays, and emotes.
So, ready to start making your own pixel art from scratch? Let’s dive in! 🚀
2. What You Need to Start Making Pixel Art
You don’t need expensive tools or years of experience to start with pixel art. All you need is:
2.1. The Right Software: Best Free Tools for Pixel Art
There are tons of free pixel art tools available, but here are some of the best ones:
🖥️ For Desktop Users:
- Aseprite – A powerful tool with animation features (Paid, but worth it!).
- Piskel – Free and web-based, great for beginners.
- Krita – A free drawing app that supports pixel art.
- Photoshop – Not built for pixel art, but with the right settings, it works!
📱 For Mobile Users:
- Pixly – One of the best pixel art drawing apps for mobile.
- Dotpict – Beginner-friendly with a grid-based interface.
- Pixel Studio – Great for pixel art animations on the go.
2.2. Choosing the Right Canvas Size & Grid Settings
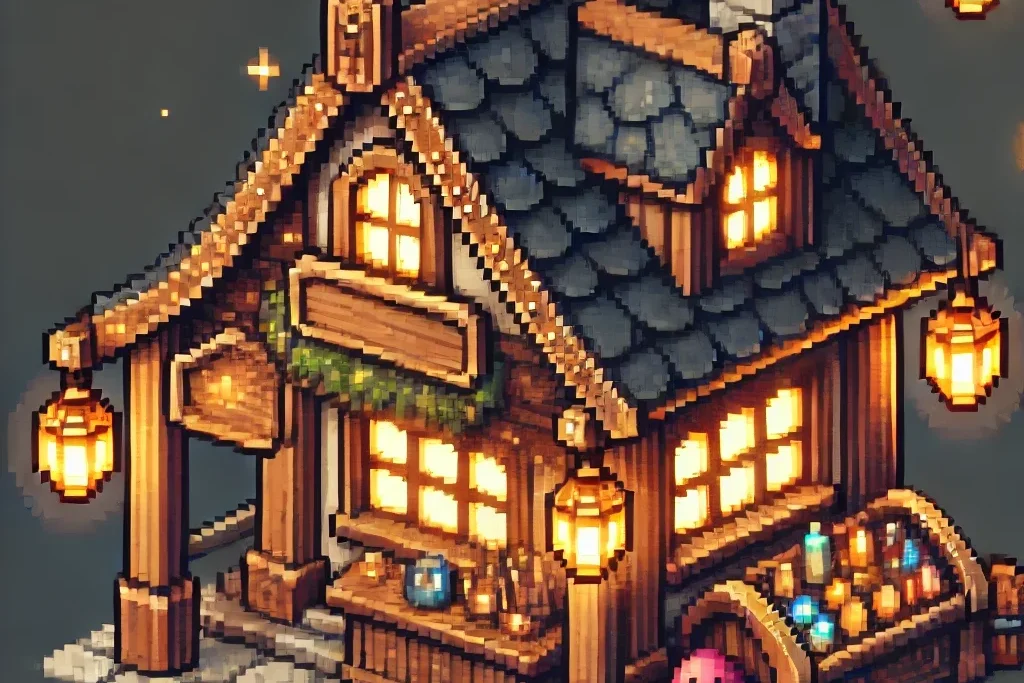
Pixel art is all about working with small details, so choosing the right canvas size is crucial. Here’s a quick guide:
🎮 For Game Sprites: 32×32 or 64×64 pixels
🌆 For Backgrounds: 256×256 or larger
🎨 For Icons & Emotes: 16×16 or 32×32 pixels
Pro Tip: Always enable the pixel grid in your software to see where each pixel lands!
2.3. Understanding Pixels, Colors & Resolution
- Low resolution = More pixelated (Perfect for a retro look!).
- Limited colors = Cleaner art (Most pixel artists use 8-16 colors max).
- Shading & Contrast = Depth (Using pixel art shading techniques will bring your art to life!).
3. Step-by-Step Guide: How to Make Pixel Art from Scratch
A lot of people think you need to be a pro artist to make pixel art. That’s not true! Pixel art is all about using simple shapes, colors, and shading to create something cool.
If you follow these step-by-step instructions, you’ll be able to create your first pixel art piece today. Let’s get started!
3.1. Choosing the Right Canvas & Grid Size
First things first—you need the right canvas size.
🔹 Small canvas = retro, detailed look (16×16 or 32×32 pixels).
🔹 Medium canvas = more detail, but still pixelated (64×64 or 128×128 pixels).
🔹 Large canvas = pixel art with more freedom (256×256 or higher).
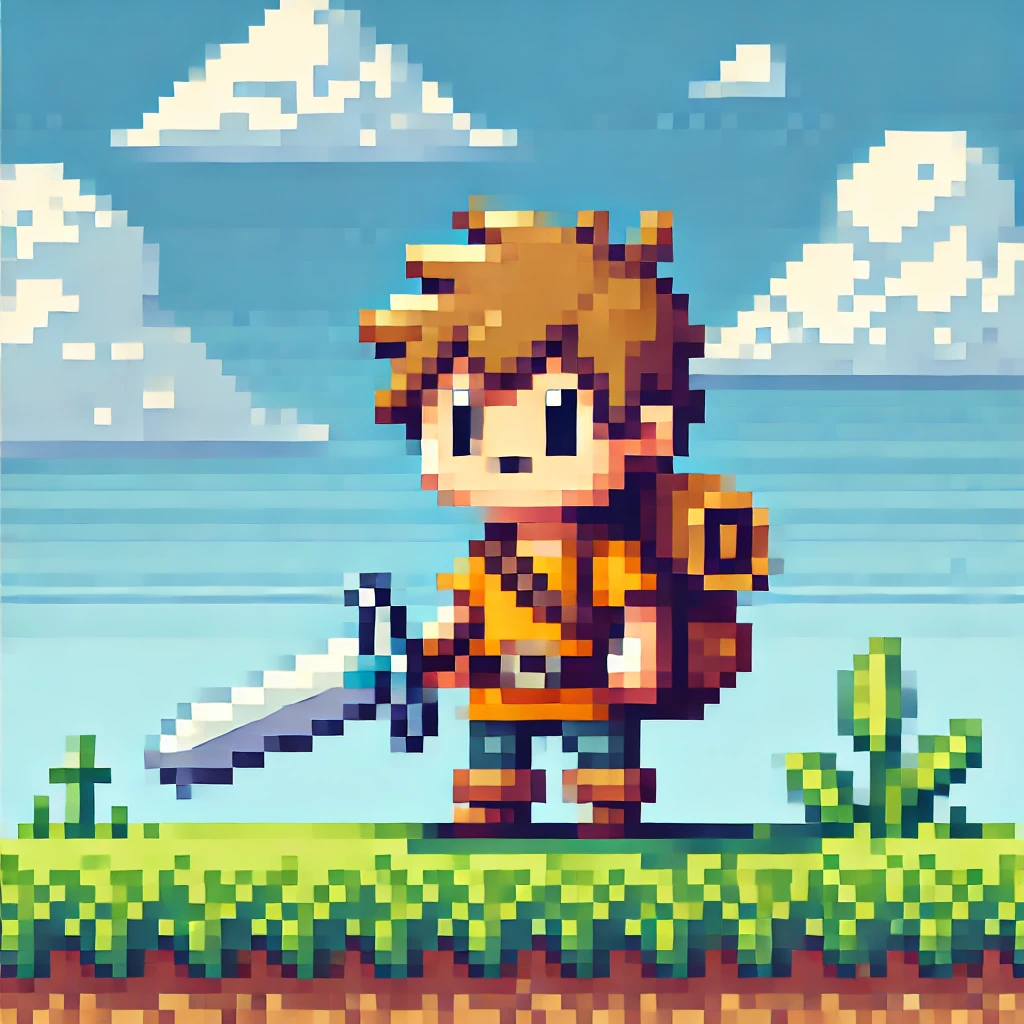
💡 Pro Tip: If you’re just starting, stick to 32×32 or 64×64 pixels. This gives you enough space to add details while keeping things simple.
Now, turn on the grid in your pixel art software. This helps you see each individual pixel clearly, so your drawing stays neat.
3.2. Sketching the Basic Shape (Blocking Out Forms)
Before jumping into details, start with a basic shape.
🎯 Think about what you want to create—a character, an object, or a landscape?
1️⃣ Use a simple outline – Start with basic geometric shapes like circles, squares, and triangles.
2️⃣ Keep it rough – Don’t worry about details yet. Just focus on the overall form.
3️⃣ Use a single color – Black or gray works best for an initial sketch.
Example:
Let’s say you want to create a pixel art character. You’d start by sketching a simple stick figure or blocky shape.
💡 Pro Tip: Avoid excessive curves. Pixel art works best with clean, sharp lines!
3.3. Adding Colors & Shading
Now comes the fun part—bringing your pixel art to life with colors!
🔹 Step 1: Choose a Simple Color Palette
- Avoid using too many colors.
- Stick to 8-16 colors for a clean look.
- Use color palettes from classic pixel games for inspiration.
🔹 Step 2: Add Shading for Depth
Shading is what makes flat pixel art look 3D and detailed. Here’s how:
- Pick a light source – Decide where the light is coming from (top-left, top-right, etc.).
- Use darker shades for shadows – Add a slightly darker version of your main color to areas that don’t get light.
- Highlight the brightest areas – Add a lighter version of your main color for highlights.
💡 Pro Tip: If you’re making a pixel art character, shade around the edges and under the chin to make it pop.
3.4. Refining & Adding Details
Now, it’s time to clean things up and add some details!
✔ Check for rough edges – Pixel art should be clean and crisp.
✔ Add texture – Use dithering (checkerboard shading) to create soft transitions.
✔ Outline your art – Thin outlines make pixel art look polished, but avoid making them too thick.
💡 Pro Tip: Zoom out often! This helps you see if your pixel art looks good at a distance.
3.5. Saving & Exporting Your Pixel Art Correctly
Once your art is done, you need to save it in the right format.
✅ Best file formats for pixel art:
- PNG (Best for clean images, keeps transparency).
- GIF (Used for pixel art animations).
❌ Avoid JPEG! It blurs pixels and ruins the clean look.
If you want to animate your pixel art, you can save it as a GIF or use software like Piskel or Aseprite to add frame-by-frame movement.
4. How to Make Pixel Art Characters for Games
Creating a pixel art character is all about simplifying details while keeping personality intact. Whether you’re designing a game hero, an NPC, or a retro-style avatar, here’s a simple step-by-step guide.
4.1. Understanding Pixel Art Character Proportions
Your character’s size affects its details. Here are common pixel sizes for game characters:
- 16×16 pixels – Best for small NPCs or retro-style games.
- 32×32 pixels – Standard size for main characters in indie games.
- 64×64 pixels – More details and animations possible.
💡 Pro Tip: Smaller characters = Simpler designs. Focus on big shapes and bold colors rather than small details.
4.2. Sketching the Basic Character Shape
1️⃣ Start with a rough silhouette – Block out a basic stick figure.
2️⃣ Keep it simple – Focus on head, body, and limbs first.
3️⃣ Use symmetry – Draw one side first, then mirror it for balance.
💡 Pro Tip: Keep your character’s pose neutral so it’s easier to animate later!
4.3. Adding Colors & Facial Features
- Choose a small color palette (4-8 colors max).
- Use darker shades for shadows and lighter tones for highlights.
- Eyes should be 1-2 pixels wide—keep facial features minimal.
Example: A simple 32×32 pixel art character might have:
✔ A 3-color skin tone gradient
✔ Black outlines for clarity
✔ Light shading on one side for depth
4.4. Refining the Character Design
- Smooth out rough pixels using the eraser tool.
- Check proportions—Make sure arms, legs, and head look balanced.
- Add small accessories (hats, weapons, or backpacks) without cluttering the design.
💡 Pro Tip: Keep details big and bold. Too much detail makes pixel art messy!
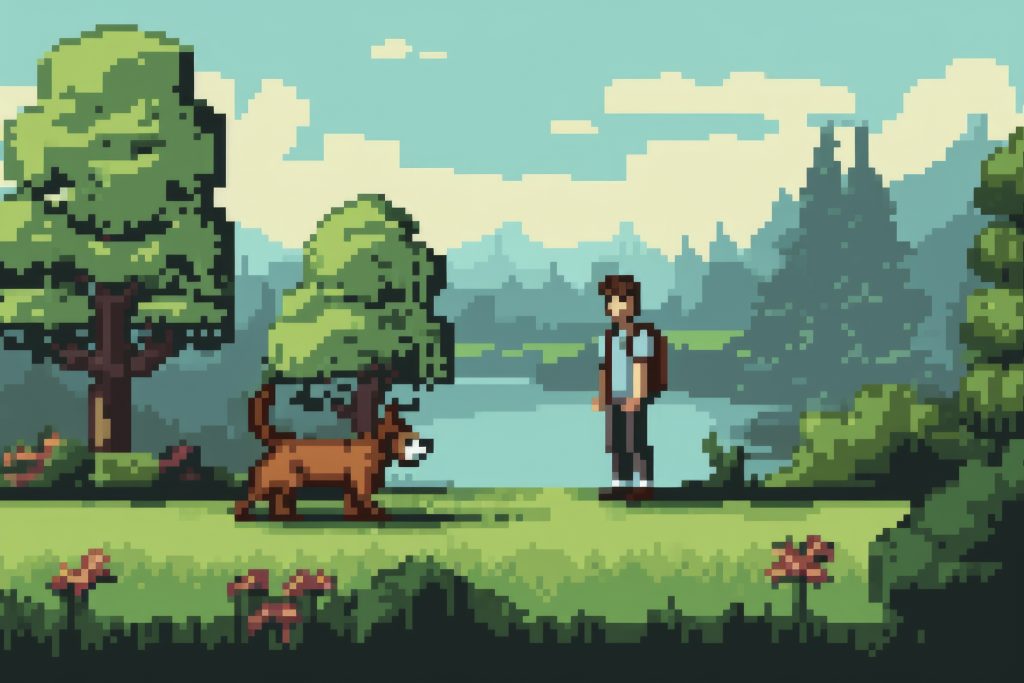
5. How to Create Pixel Art Backgrounds & Landscapes
Pixel backgrounds make games feel immersive. Here’s how to make them simple yet visually appealing.
5.1. Choosing a Background Style
- Flat Colors (Minimalist Look) – Great for mobile games.
- Layered Backgrounds (Depth & Perspective) – Best for platformers and RPGs.
- Scrolling Backgrounds (Parallax Effect) – Used in side-scrolling games.

5.2. Designing Landscapes & Game Environments
- Use tile-based design (16×16 or 32×32 pixel tiles).
- Layer foreground, middle ground, and background for depth.
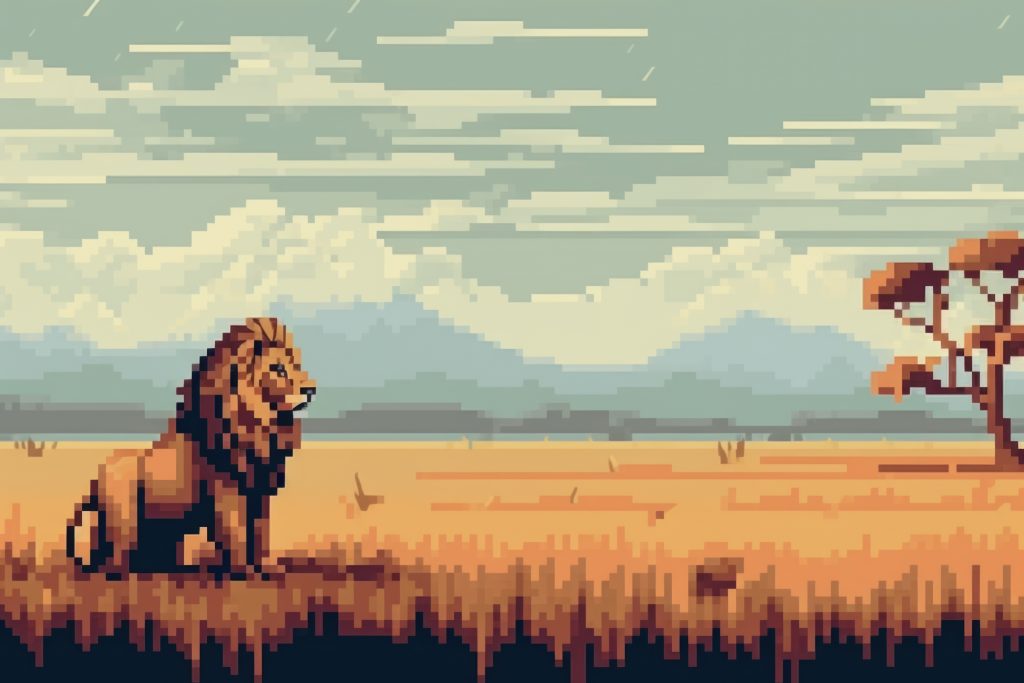
- Apply atmospheric perspective—fade colors in distant objects.
💡 Pro Tip: Avoid too many details in the background—it should support, not distract from, the main action.
6. How to Animate Pixel Art: A Beginner’s Guide
Animating pixel art is easier than you think! Here’s a basic guide to frame-by-frame pixel animation.
6.1. Setting Up Your Animation Frames
- Use Aseprite, Piskel, or Photoshop for animations.
- Keep animations at 6-12 frames per second for a smooth look.
- Each frame should have a small movement change—big jumps look unnatural.
6.2. Animating a Simple Walk Cycle
1️⃣ Start with the idle pose (standing still).
2️⃣ Move one leg forward, one back (basic movement).
3️⃣ Add slight bobbing to the head and arms.
💡 Pro Tip: Study classic 8-bit game sprites like Mario or Mega Man for reference!
7. Advanced Pixel Art Tips & Tricks
Once you’ve mastered the basics, here are pro-level tips to take your pixel art further.
7.1. Pixel Art Perspective & Depth
- Use 1-point or 2-point perspective for buildings and environments.
- Adjust size and color brightness to create depth.
7.2. 16-Bit vs. 8-Bit Pixel Art Techniques
- 8-bit art uses very limited colors (like old NES games).
- 16-bit art has richer shading and more color depth (like SNES games).
💡 Pro Tip: If you’re making a retro-style game, decide if you want an 8-bit or 16-bit look early on!
8. Best Free Software & Tools to Create Pixel Art
Here’s a list of the best free and paid pixel art tools to use:
Free Pixel Art Software:
✔ Piskel – Great for animations.
✔ Krita – Advanced drawing features with pixel art support.
✔ GIMP – Free Photoshop alternative.
Paid Pixel Art Software:
💎 Aseprite – The industry standard for pixel artists.
💎 Pro Motion NG – High-end tool used for pixel animations.
💡 Pro Tip: Try free tools first before buying premium software.
9. Common Pixel Art Mistakes & How to Avoid Them
🚫 Using too many colors – Keep it simple!
🚫 Messy outlines – Clean edges make pixel art look crisp.
🚫 Too much detail – Less is more in pixel art.
10. Final Thoughts: Start Your Pixel Art Journey Today!
Now that you know how to make pixel art, it’s time to start creating! 🎨
What’s next?
✅ Practice daily.
✅ Join a pixel art community like Pixel Joint.
✅ Experiment with different styles.
🚀 Start making pixel art today and bring your creativity to life!
Want to explore another creative field? Check out What is Culinary Arts? to learn how cooking can be an artistic expression, just like pixel art!
Curious about the broader world of arts and creativity? Read What Is Liberal Arts and Why It Matters to see how different art forms—including digital and traditional—connect.
